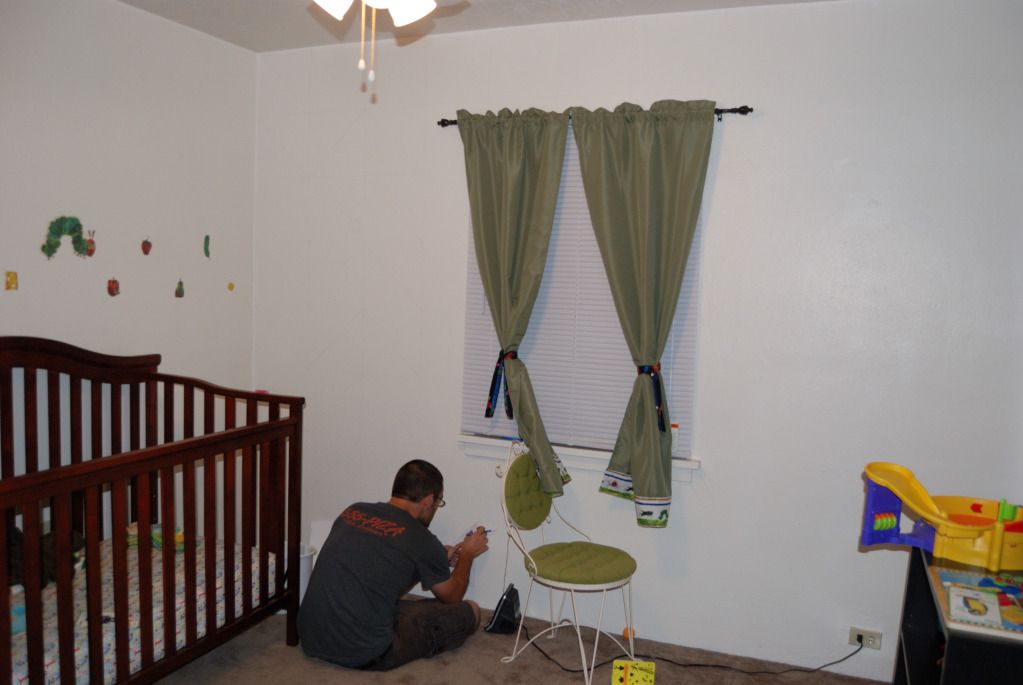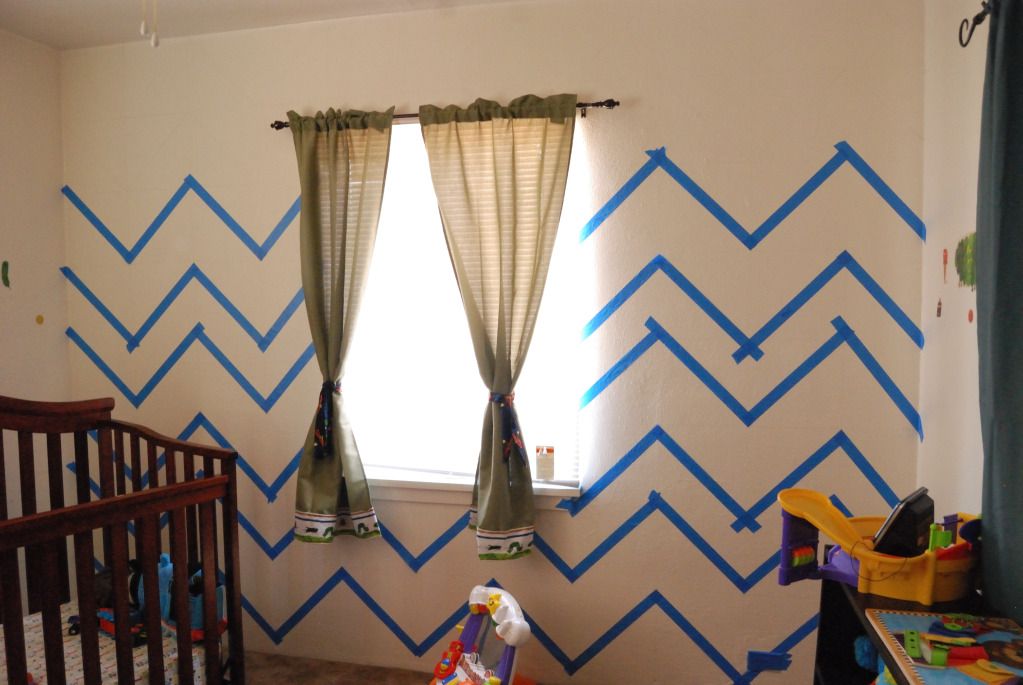
It's hard to see the grid in this picture, but it's there.
Just a note: We used the white that the wall already was painted as the second stripe color. This allowed for a lot less time and money spent on this project. From what I've read, if you are doing two different colors, it's recommended to paint the whole wall one color. After that has dried, then you will do the grid step.
After researching quite a few tutorials on how to have the "chevron stripe" look in the room. Most of the tutorials included a lot of measuring, calculating distances, angles and more measuring. I'm pregnant, my brain is not functioning at 100% at the moment.
Tools we used to draw grid:
Spiderman #2 pencil..(lol!)
12"x12" thick card stock paper (x2)...usually in the scrapbook section of craft stores.
Make sure if you use this method you write "TOP" on one side and on one of the pieces of the card stock. We found that they aren't perfect squares and if you don't place the card stock the same direction each time, it will result in the grid not lining up.
The second piece of card stock paper you will fold in half, diagonally. This piece is what you will use to draw the diagonal lines for the stripes.

We did write "new paint area" in all the sections that would be painted. Again, pregnant brain...I knew that I would mess something up if I didn't mark it.

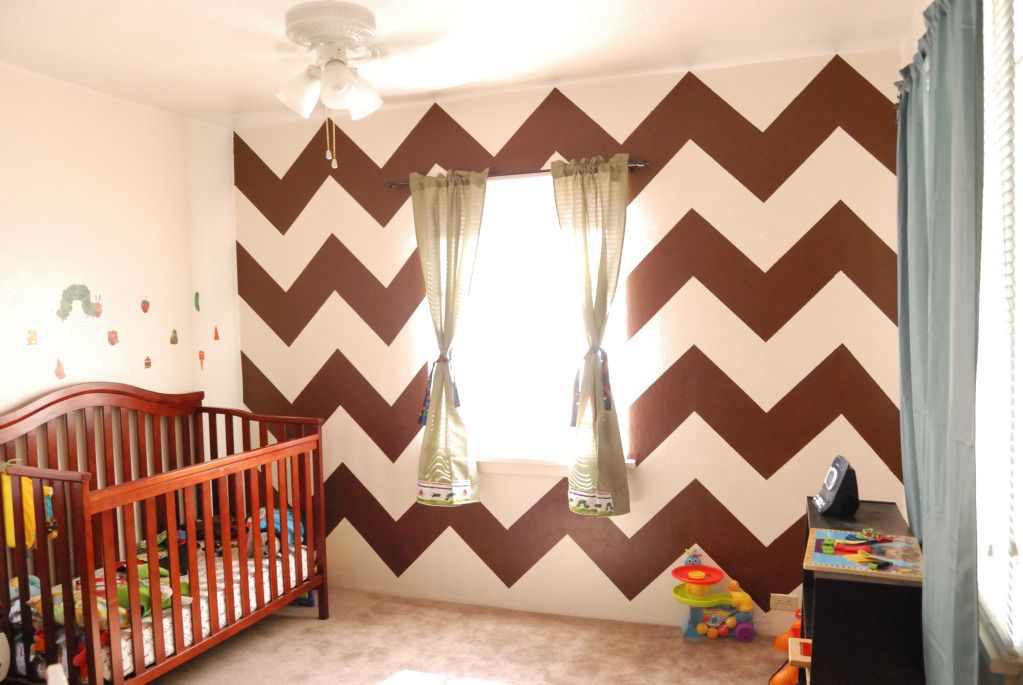
And here is the finished wall. Amazing the character the room receives with just a little paint. I LOVE it!!
Paint color: Fudge Truffle from Olympic (Lowe's)
We used less than a quart of paint to do this project and we had to paint 3-4 coats. We still have 1/4 of the can left over.
With the painter's tape, roller, pan and paint we spent less than $20 on this project.
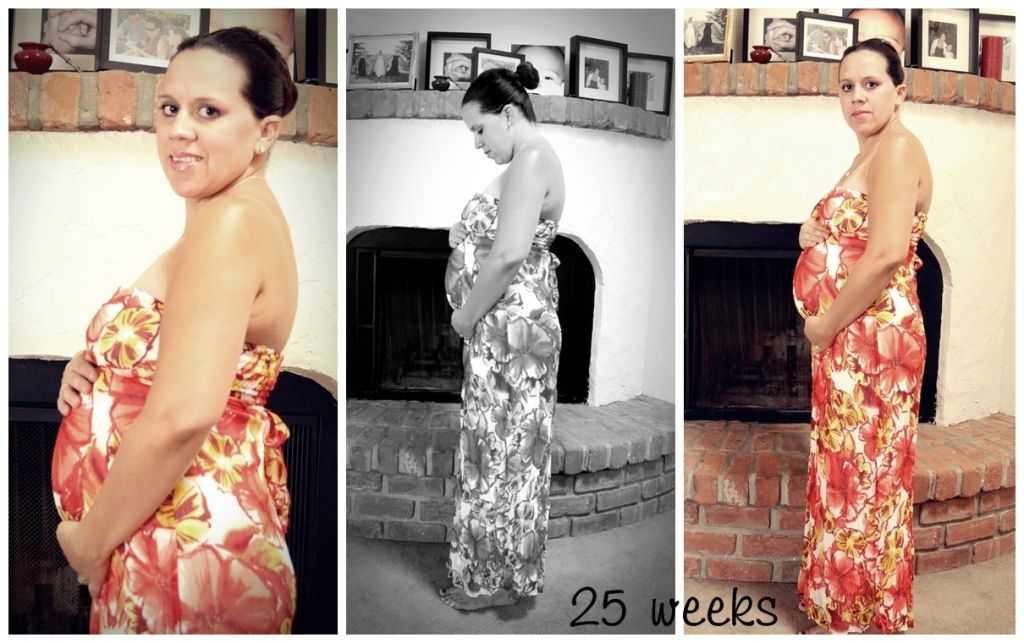
And just for fun, some pictures I took this morning.


No comments:
Post a Comment